Makeup – This word has the power to transform someone’s looks and build confidence in them. We heard many times that When we look good, we feel good. Though every woman on this planet is naturally beautiful to enhance your beauty and even out your skin color we need to make up. It is completely fine to do makeup but just make sure not to overdo it. It is important to get some knowledge before applying makeup so that we will not end up looking like an alien on our planet. Sometimes when are running out of time, then the easiest way is to choose a makeup artist in your area and get your make up done and you are good to go to rock the event.
Table of Contents
Prep Up Your Skin Before Applying Makeup
No makeup product will give you even tone skin if you directly apply it. Trust me not even highly-priced brands also. Prepping up your skin before applying any makeup products is equally important. A good prepped-up skin will give you a long-lasting stunning look. Though you must have read many blogs to apply to make up We will come up with all the information which is easy for everyone to understand and then achieve a beautiful and fresh look.

Let’s get started one by one with all the prep-up steps:
Step 1) Cleanser
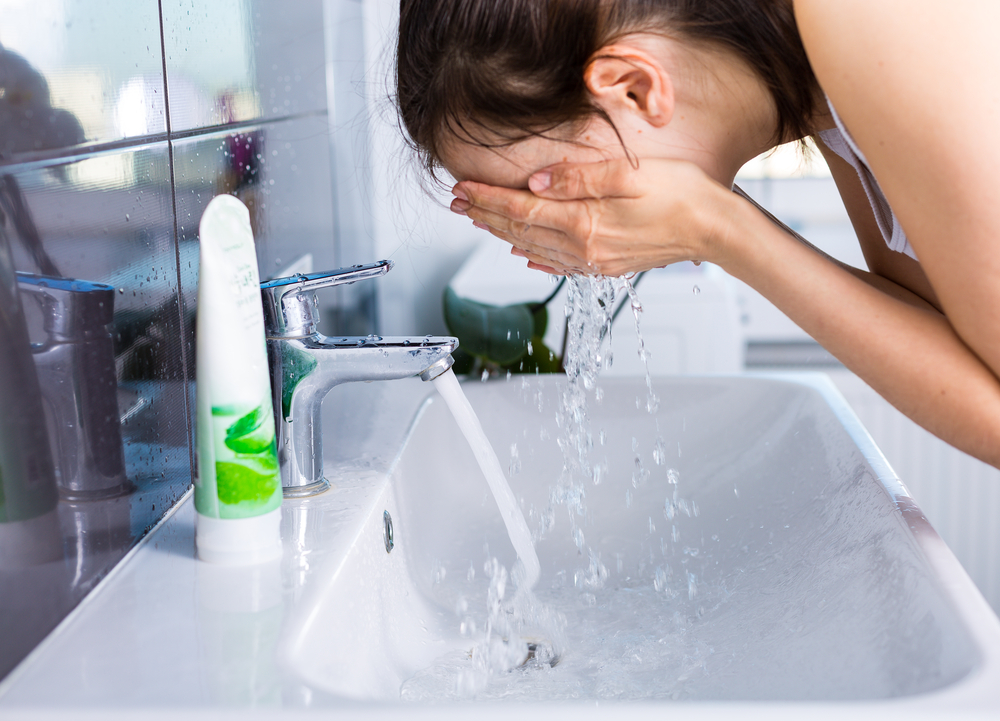
The foremost step in this routine is to clean your face with a good cleanser to get clean, nourished, and glowing skin. We need to remove all the yuck from the face. No specific suggestions for the cleanser but yes you can apply whatever cleanser suits best to you according to your skin type. If I say for myself, unfortunately, I have acne-prone skin so I use Ahaglow cleanser. This cleanser works best on my sensitive and irritated skin. These are other amazing cleanser available in the market which is easily available Clinically proven Cetaphil daily cleanser, Neutrogena skin balancing cleanser, Lotus herbal cleanser, Good vibes nourishing cleansing oil, and many more. Make sure to choose a cleanser that does take away all your moisture from the skin.
Step 2) Toner
To keep your skin looking healthy, it is essential to use a good quality toner. You can choose natural toner also to replenish your skin. Natural toner is chemical-free, paraben-free, and works wonders on your skin. As we are going to apply makeup products to your skin so it is good to keep your skin prepping as natural as you can. In old times, our granny used to apply therapeutic camphor and rose water toner, Chamomile tea toner, apple cider vinegar toner, and Ginger mint toner but now in our busy modern days, we will get these natural toners in the brand such as Just herbs, Plum, Biotique, Innisfree, Cetaphil and many more. You can explore and try the options and choose the best one which works gloriously for your skin.
Step 3 Moisturizer
After toning your skin, a high-quality moisturizer is helpful for maintaining a dewy look before applying any kind of makeup. The moisturizer comes in various forms and choosing one out of them is super confusing. To solve this puzzle, We will list down all the types of moisturizers to clear puzzlement.
- Face mists: It is for those who don’t like to apply cream-based products. This is a water-based solution that boosts your skin and moisturize it from deep. You will easily get face mist in brands like Plum and The body shop.
- Serum: This is a thin, light sheer, and transparent product. This will enhance your skin cells and moisturize them. The serum will brighten your skin and improve collagen also. Some good brands used by make artists also are Loreal Paris, Neutrogena, Plum, and Minimalist.
- Lotion: To avoid clogging your skin pores, you can try Ponds super light gel lotion, Cetaphil, Lakme, and lotus products. I personally use Ponds which is a super light gel-based product.
- Cream: Those who love moisturizing and massaging their skin with good skin cream and have dry skin issues can go for creams like Lotus day and night brightening cream, Plum green tree oil-free moisturizer, or The body shop vitamin E moisturize cream.
- Oils: For those who have extremely dry skin and need more oil-based products, they can undoubtedly go for facial oils. We need to know the amount of oil before applying as the essential oil can be irritated also sometimes.
Step 4 Sunscreen
Last but not least, Never ever forget to apply sunscreen as this is literally a savior for us these days. You should apply sunscreen before starting your makeup. Sunscreens protect your skin from harmful UV rays which will cause skin problems. Common brands are Lotus, Neutrogena, Lakme, and The derma co. and the list is long. You can choose whatever you like.
Sequence To Apply Makeup
Step 1 Moisturizer
This step we have discussed earlier as well. Moisturizer is the first step to starting your makeup. Moisturizer will save you from extreme dryness and oiliness. Your makeup will not look cakey after moisturizing your skin well.
Step 2 Primer
Well, ladies, It is a must to create a base on your skin for long-lasting makeup. This will smooth your pores, and reduce excess shine. You can apply it to the face, lips, eyes, and neck.
Step 3 Foundation
Once the base is prepared, now is time to cover up any sort of discoloration from your face. Take a pinch of product on your hand. From the tip of your finger, put dots all over your face, and now blend it with a beauty blender or your fingers. Yes, here is a tip before using the beauty blender. Just soak the beauty blender in water first and then squeeze out all the water from it. Once the blender will be double in size then you can use it. If you do not have a blender, use your fingers which are clean and free of dirt. Cover your entire face with foundation otherwise, your foundation will look patchy if some area is left. A piece of advice here, Most Indian women have a yellow-orange undertone so don’t buy a fair foundation, go for your skin color foundation or one color darker.
Step 4 Concealer
Concealer does a very good job, Trust me. It takes away all your visible breakouts and dark circles under the eyes. Just apply a thin layer of the product wherever required and then blend out so well that there are no lines of demarcation. A quick tip, whatever product you are applying on your face, just apply it with smooth hands and blend it. Do not rub it.
To clear your confusion about which correct color of concealer you should use to fade away your blemishes, I am listing down all the types of concealer.
- Green concealer – This color concealer is perfect to hide your red marks, acne scars, and rosacea.
- Orange concealer – To hide dark circles under your eye, you can apply an orange concealer. If you are a lighter skin tone, go for a peach color corrector.
- Pink concealer – Pink and peach corrector can be used as an alternative to each other. This is for lighter skin tone ladies.
- Yellow concealer – Some people’s veins are purple in tone. To hide them you can use this corrector concealer.
- Purple Concealer – This color corrector is for people with yellow skin tone. You can instantly give a glow to improve your dull complexion.
Step 5 Bronzer
This brown or gold color product will bring warmth to your face. Your skin looks sun-kissed after applying bronzer. This will draw dimension to your face. This is in solid form, apply to the area where you want to create a good perimeter such as the edges of the jawline, cheeks, nose, and forehead.
Step 6 Blush
Blush, Bronzer, and Contour come in one palette. They always come together. Who does not like a pink tint on the face? The pink touch gives you a good look, like a Kashmiri girl. Make sure not to overdo anything, keep things natural. Blush does an amazing job to give that natural pink touch. Take blush on the brush, make a pout, apply to your cheekbones and boom. All set!
Step 7 Highlighter
I love highlighting, I am sure you all do. This product will highlight all the highest points of your face such bridge of your nose, your cheeky bones, temples, brow bone, and cupid’s bow also. Highlighter will instantly throw light on your face and give you extra charm.
Step 8 Eyeshadow
This is the stage in which your creativity comes into action. You can play with colors. Use the eyeshadow which goes well with your dress. Eyeshadow will enhance your look and give your desired results. Start with a neutral base eyeshadow to the eyelid, then Fill dark eye shadow in the eye crease, and at last fill, your lash lines in a super dark color to get a smokey look. You can be more creative by highlighting with a shimmery eye shadow. Don’t forget to blend all the colors very well.
Step 9 Eyeliner
After applying beautiful shadows, You can apply the eyeliner of your choice. It can be black, sea green, blue, grey or any color you want. Don’t be in a hurry while applying linear as it can very messy if not applied patiently. Use the linear in which you are comfortable such as pen liner, pencil liner, gel liner, and liquid liner.

How To Apply A Perfect Eyeliner
- Create a base on your eyes with a primer followed by a concealer.
- Draw smaller stokes on your upper lash line, keeping it very close to your lash line. For a more dramatic eyeliner, draw a few more strokes from the outer tips of your eye and your brow. It should be pointed towards the outer end of your brow.
- Now join the stokes with the thin line and then make it thick as much as you want.
- To complement your look apply fake lashes and put 2 applications of mascara over them.
- Until you become a pro, your mascara will definitely be messed up in the learning process, For that, you can refine it with a moist Q-tip for a super fine and clean look.
- For the lower lash line, Go for white kajal. This will make your eye look bigger.
- At last, Do your brows with black or brown brow pencil.
Step 10 Lip gloss
Don’t take lipstick too lightly, it does have rules. You should treat them gently as you treat your face. Exfoliate your lips with lip balm. Apply a lip liner and then start filling your lips in the middle, make a “V” then go to the edges with a beautiful lip shade. To clean up the nearby area of your face, Apply loose powder to give a clean look.
Hands To Go In The Right Way To Apply To Make Up
Big make-up rules – Don’t just rub any product on your face. Rather gently blend it with smooth hands or a brush. Never take too much quantity of ay product otherwise you will look all whitish. Instead, take a small amount and blend blend blend so that it will merge with your skin. It is not mandatory to start with your face first, You can start with your eyes so that all the mess will be cleaned up later when you start your face make-up. Your brush should move along with your face in even strokes. It is always safe to start in the middle and then work away in an outward direction.
List of Brushes and their usage
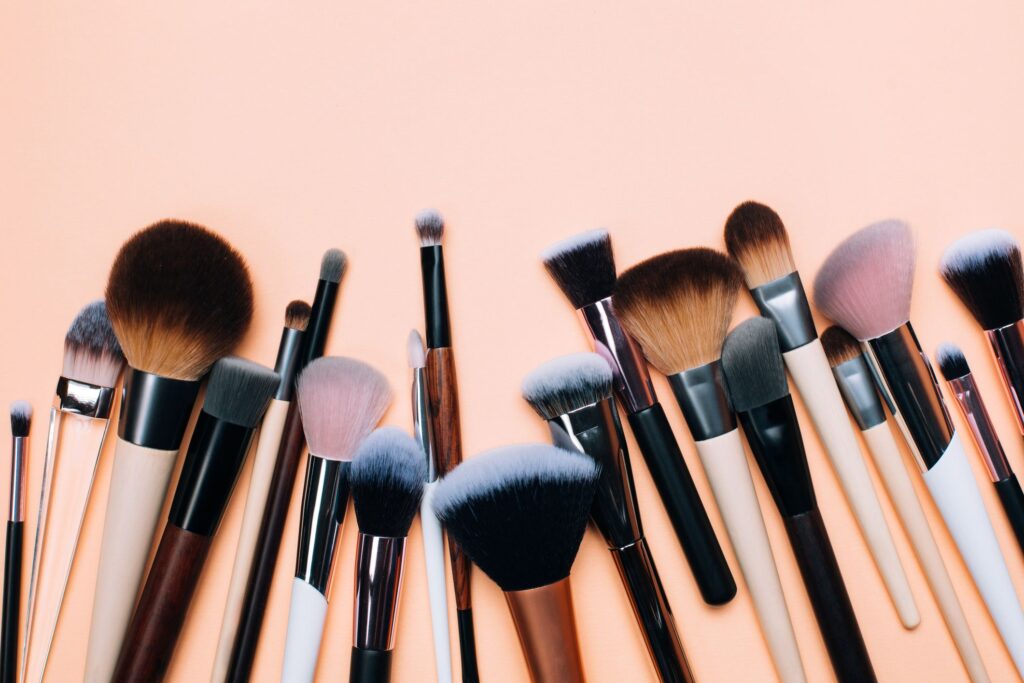
Makeup brushes play a vital role in achieving a flawless look. People often get confused with the variety of makeup brushes available. Let’s talk about one by one common makeup brushes used in doing makeup.

- Powder brush – This is a thick and full hair brush generally used to put loose powder on your face. You need to dust the powder a bit from the brush before applying it to your face. This brush is often used as a blush brush also.
- Tapered foundation brush – This tapered brush is flat with less form. This is used to apply foundation, blush, or highlighter to your face.
- Stippling Brush – The fiber of this brush is of two distinct lengths. This is a kind of tightly packed brush. This brush is used to achieve a flawless look. You can use it when doing an airbrushed look.
- Kabuki Brush – This can use as an alternative to a powder brush. Both look similar. This brush is used for applying loose powder or shimmer products.
- Contour brush – This brush is used to define your jawline, and angular facial shape and to highlights your facial points.
- Fan Brush – As the name says, its shape is like fan. This is majorly use to apply highlighter, blending and to dust away excess product.
- Eye shadow Brush – This brush is small in size and used to apply eyeshadows to your eyelids.
- Angled eye shadow Brush – This brush is used by professional makeup artists. They used to contour eye makeup and do smudging with this brush.
- Eyeliner Brush – With the help of this brush, you can apply thick or thin liner to your eyes. You can even make a cat-eye look with this brush.
- Brow Brush – This brush is used to give definition to your brows.
- Lip Brush – This brush is used to fill lipstick or lip gloss shade on your lips.
- Lip Liner Brush – You can draw lines on your lips with the help of this brush.
Ways To Keep Your Makeup Long-Lasting
Sometimes we end up buying a shade which is fairer than our complexion but then after some time our make up looks dull and gives an oxidized look so always choose the makeup which matching your face color. We all are already so beautiful, Don’t try to look fair, just want to look flawless with our own skin color. Do a patch test before buying any makeup product because Nobody can guarantee that a specific makeup product will suit you. To keep your make look long-lasting, few steps you can follow:
- Clean your brushes before using them with normal water.
- After makeup, apply setting spray on your face to lock your makeup.
- Take some setting powder/Translucent Powder in puffs and keep it in your bag. Tab it on your face whenever your feel to touch up.
Avoid doing these usual mistakes in make up
- Choose the foundation that is similar to your skin tone otherwise you will end up looking like a white ghost.
- Do Not buy too many make-up products, minimal is more. Buy whatever is necessary.
- Always apply foundation as it will give you a flawless look to complete your makeup look. In daily life, you can choose BB cream or CC cream instead of heave professional foundation.
- Don’t skip Mascara. Sometimes we thought that Mascara is not required but Mascara widens your eyes and makes them look more beautiful.
- Don’t recoat the lipstick. Always clear the lipstick with lip balm and then wipe it off with a tissue and then apply fresh lipstick again. This will refreshen your lipstick look.
- Avoid using compact, use translucent powder or loose powder. As loose powder will give you a fresh look.
Summary
Practice makes a man perfect; this rule applies to makeup also. Your makeup will look fresh all day if you know how to set the correct base and that all will come with practice. In the beginning stage, you can prefer to hire a Makeup artist and carefully see what product they are using and how they are applying that. Whatever product you will find in this guide are suggestions only, rest you choose to make up according to your skin type and choice. That’s all, tadaaaaa……


